Building Materials
#DIY
#Invention
#Science

Building Materials
The Ultimate DIY Project: Create Your Own Device!
Are you a tech enthusiast looking for a challenging and fun project to work on? Why not try creating your own electronic device from scratch! Building your own device not only allows you to customize it to your needs but also gives you a deeper understanding of how technology works. Here's a guide to get you started on this exciting DIY journey.
Materials You'll Need:
- Microcontroller (Arduino or Raspberry Pi)
- Components (resistors, capacitors, LEDs, buttons, sensors)
- Breadboard and jumper wires
- Soldering iron and solder
- Perfboard or PCB (Printed Circuit Board)
- Enclosure or casing
- Power source (battery or adapter)
- Tools (screwdriver, wire cutter, pliers)
Steps to Build Your Device:
- Design Your Circuit: Plan out the circuit diagram for your device using the components you have chosen.
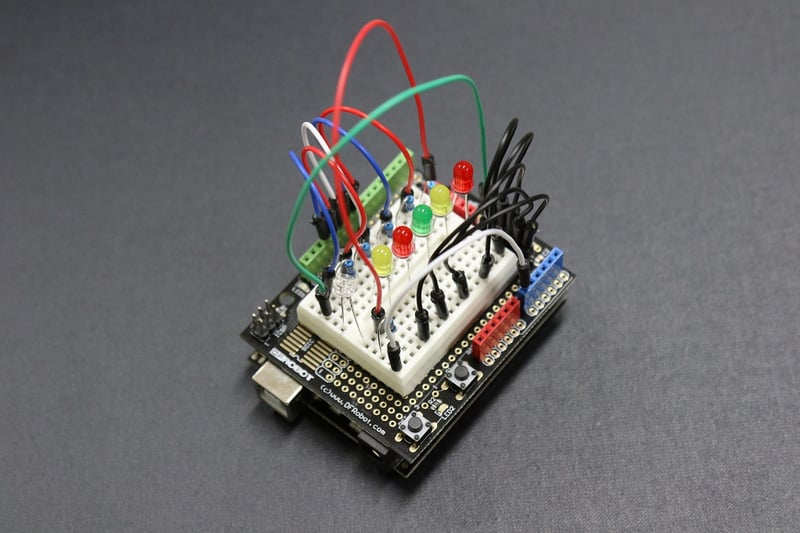
- Prototype on Breadboard: Test your circuit on a breadboard to ensure everything works as intended before soldering.
- Solder Components: Transfer your circuit from the breadboard to a perfboard or PCB by soldering the components in place.
- Assemble Your Device: Place the PCB in the enclosure and secure all the components in place.
- Power Up: Connect the power source to your device and see it come to life!
Benefits of Building Your Own Device:
- Customization: You can tailor the device to suit your specific needs and preferences.
- Learning Experience: Gain hands-on experience in electronics and programming.
- Sense of Achievement: Completing a DIY project boosts confidence and satisfaction.
- Cost-Effective: Building your own device can be more budget-friendly than buying a commercial product.
So, what are you waiting for? Gather your materials, roll up your sleeves, and embark on the exciting journey of creating your own electronic device!
For more inspiration and tutorials, check out Instructables and Adafruit.